Home
Home
How to Draw a Boy Using Simple Proportions and Shapes
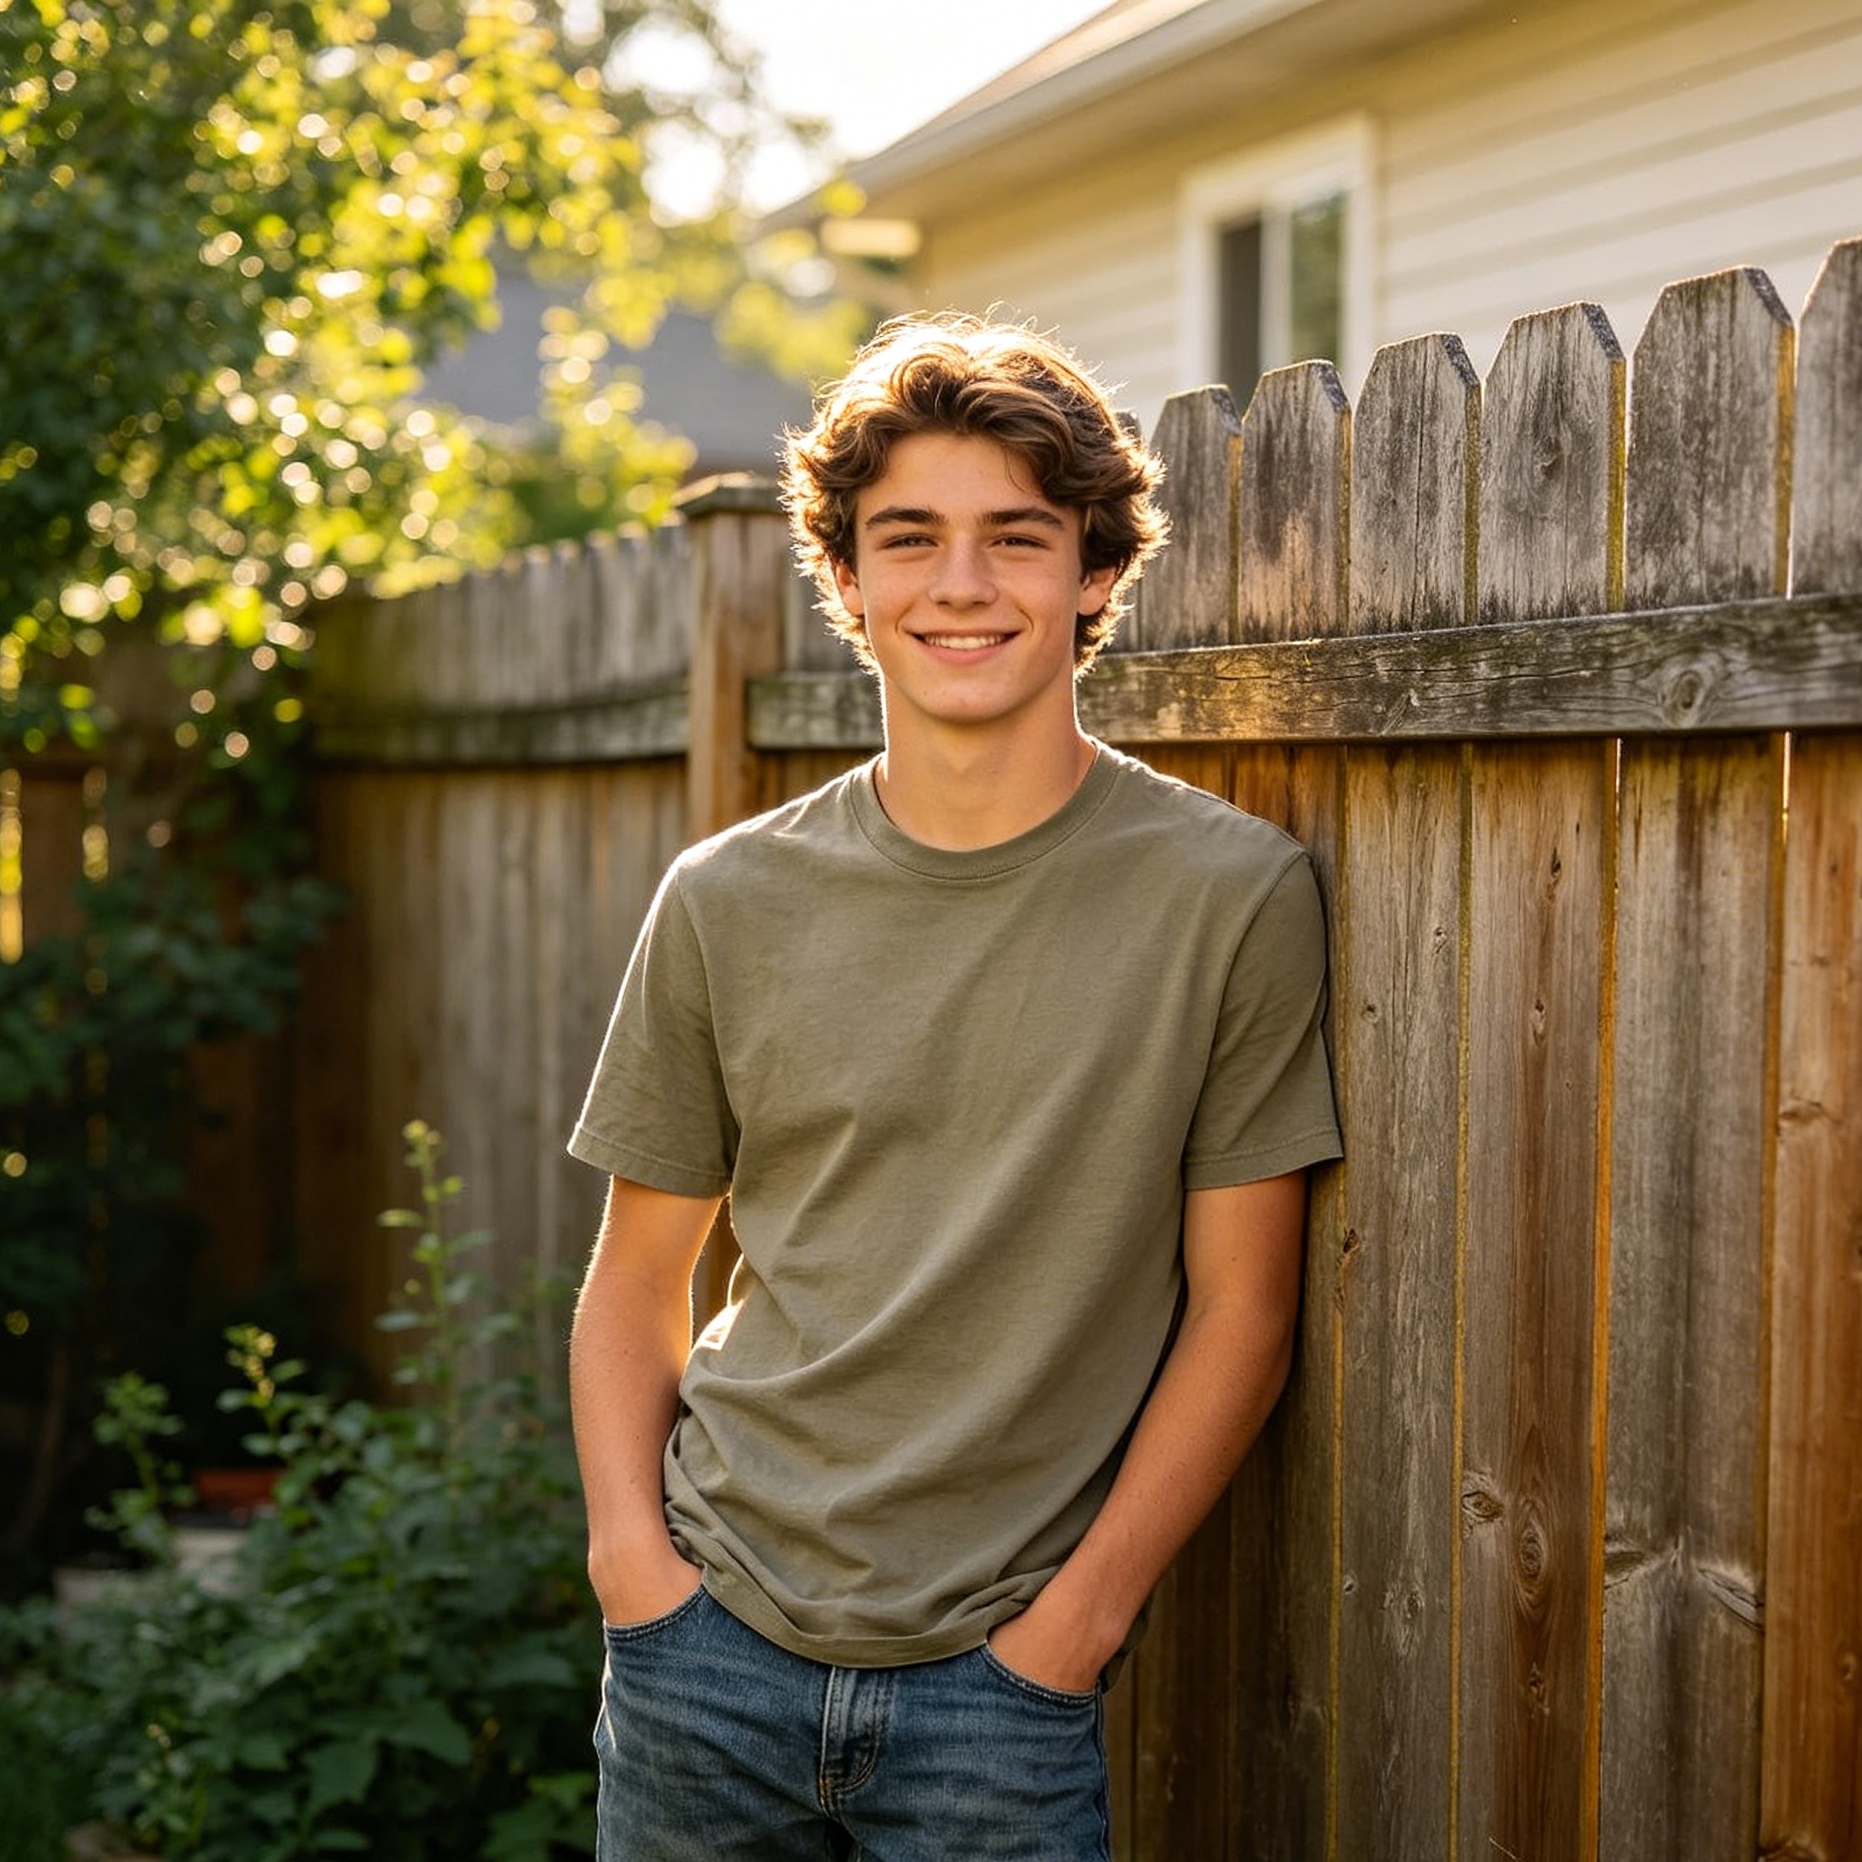
Drawing a human figure requires a shift in perception from seeing objects as names—like "arm" or "head"—to seeing them as geometric volumes and spatial relationships. To draw a boy effectively, one must understand that the young male physique differs significantly from adult proportions. Boys typically have softer jawlines, slightly larger heads relative to their bodies, and less defined muscle mass.
The most effective way to approach this task is through a systematic construction method. This involves building a lightweight "mannequin" or skeleton first, then layering volume, and finally adding specific details like facial features, hair, and clothing.
Essential Tools for Preliminary Sketching
Before making the first mark, the choice of tools dictates the quality of the workflow. For the construction phase, use a graphite pencil with a hard lead, such as a 2H or H. These pencils produce light lines that are easily erased once the final ink or darker graphite layers are applied.
A kneaded eraser is superior to a standard plastic eraser because it can be molded into points for precision and lifted off the paper without damaging the fibers. For the final rendering, a softer 2B or 4B pencil allows for the depth of shadow and line weight variation that brings a drawing to life.
Phase 1: Constructing the Mannequin Skeleton
Most beginners fail because they start with the eyes or the hair, losing control over the overall balance of the figure. A drawing must have a solid foundation.
The Head and Spine
Start by drawing a vertical oval for the head. This oval represents the skull. Do not worry about facial details yet. Below the head, draw a central vertical line—this is the "action line" or the spine. This line determines the posture. If the boy is standing straight, the line is vertical; if he is leaning or running, this line should curve or tilt.
The Torso and Hips
For a boy’s torso, draw a trapezoid or an inverted triangle shape. Boys generally have narrower shoulders than adult men, so ensure the width of the shoulders is roughly twice the width of the head. Below the torso, leave a small gap for the waist and draw a slightly wider horizontal oval or rectangle for the pelvic area.
In our studio tests, we have found that keeping the torso slightly shorter than the combined length of the legs creates a more youthful, energetic look suitable for a character between the ages of 8 and 12.
Mapping the Joints
Mark the joints with small circles. These act as hinges. Place circles for the shoulders, elbows, wrists, hips, knees, and ankles. A crucial anatomical tip: when the arms hang naturally at the sides, the elbows should align with the bottom of the ribcage (the bottom of your trapezoid), and the wrists should sit roughly at the level of the crotch.
Phase 2: Adding Volume Through Geometric Mass
Once the skeleton is balanced, the figure needs "flesh." Instead of drawing outlines, think in terms of 3D cylinders and spheres.
The Limbs as Cylinders
Wrap cylinders around the lines of the arms and legs. Thighs should be thicker at the top and taper toward the knees. The calves should bulge slightly below the knee and taper at the ankles. For the arms, make the upper arm slightly thicker than the forearm.
When drawing these shapes, imagine the boy is a wooden drawing doll. This mindset helps in maintaining the three-dimensional perspective, especially if you decide to draw the boy in a more complex pose like sitting or crouching.
The Neck and Shoulders
Connect the head to the torso with two short vertical lines. For a boy, avoid making the neck too thick or muscular, as this will make him look like a bodybuilder. The neck should transition smoothly into the trapezius muscles, which slope down toward the shoulders.
Phase 3: Drafting Accurate Facial Features
The face is where the boy’s personality emerges. The key to a realistic or even a good cartoon face is the "Rule of Halves."
How do you place facial features accurately?
Draw a horizontal guideline directly through the center of the head oval. This is the eye line. Beginners often draw the eyes too high on the forehead. In reality, the eyes sit in the middle of the skull.
- Eyes: Place two almond shapes on the horizontal line. The space between the two eyes should be exactly the width of one eye.
- Nose: Draw a small horizontal mark halfway between the eye line and the bottom of the chin.
- Mouth: Place the mouth halfway between the bottom of the nose and the chin. Keep the lips relatively simple for a younger boy.
- Ears: The top of the ears should align with the eye line, and the bottom of the ears should align with the bottom of the nose.
Defining the Jawline
While adult men have sharp, angular jaws, a boy’s jaw should be more rounded. In our experience, softening the chin and keeping the cheeks slightly fuller creates a more age-appropriate appearance. If you want the boy to look older (a teenager), you can start to define the jawline with slightly sharper angles.
Phase 4: Styling Hair and Clothing
Hair and clothes should not be drawn as flat shapes glued to the body. They must occupy space and respond to gravity.
Drawing Natural Hair
Think of hair in "clumps" rather than individual strands. Sketch the overall volume of the hair outside the original skull oval. Hair has thickness, so it should sit slightly above the head line.
For a typical boy's hairstyle, identify the "crown" of the head (the point where the hair grows out from) and draw the clumps radiating from that point. Use jagged, overlapping lines for a messy, realistic look, or smoother, more curved lines for a stylized cartoon effect.
Clothing Folds and Weight
When drawing a t-shirt or shorts, draw the fabric slightly away from the body cylinders you created in Phase 2. Fabric hangs from the high points of the body, such as the shoulders and the hips.
Add "tension folds" where the fabric is pulled. For example, draw small diagonal lines near the armpits or the crotch area. If the boy is wearing baggy jeans, add "compression folds" (bunched-up horizontal lines) near the ankles where the fabric meets the shoes.
In my practice sessions, I always recommend observing how real fabric behaves. If you are drawing a boy playing sports, his clothes will be tighter against his body in the direction of his movement.
Professional Proportion Rules for Boys
The total height of the character is the most important factor in determining age.
- Toddler (2-4 years): Usually 4 heads tall. The head is very large compared to the body.
- Young Boy (7-10 years): Usually 6 heads tall. This is the "golden standard" for most character designs.
- Teenager (13-16 years): Usually 6.5 to 7 heads tall. The limbs begin to look longer and leaner.
To check your proportions, take the height of the head you drew and see how many times it fits into the total body height. If it fits 8 times, your boy will look like a tall adult. If it fits 3 times, he will look like a baby.
Advanced Tips for Hands and Feet
Hands are notoriously difficult, but the "mitten method" simplifies the process.
The Mitten Method
Instead of drawing five separate fingers, draw a pentagon shape for the palm and a separate triangular shape for the thumb. Then, sketch the remaining four fingers as a single "mitten" block. Once the proportions of the block look right, you can then draw the individual lines to separate the fingers. For a boy, keep the fingers slightly shorter and more rounded at the tips.
Shoes and Feet
Feet are essentially wedges. Draw a triangular wedge for the foot. If the boy is wearing sneakers, add a thick sole at the bottom and a rounded toe box. Sneakers often have many details like laces and logos, but focus on the silhouette first.
Common Mistakes to Avoid
- The "Stiff" Pose: Avoid drawing the boy perfectly symmetrical like a soldier. Tilt the head slightly or put more weight on one leg (the "Contrapposto" pose) to add life to the drawing.
- Eyes Too High: Always double-check the eye line. If the eyes are too high, the forehead disappears, and the face looks distorted.
- Flat Hair: Remember that the head is a sphere. Hair must wrap around that sphere.
- Over-shading: For beginners, less is more. Only add shadows where the light is blocked—under the chin, under the sleeves, and behind the knees.
Practice Exercises
To improve, do not just draw one boy. Use different references.
- Timed Gestures: Set a timer for 2 minutes and try to draw only the skeleton (Phase 1) of a boy in action.
- The Mirror Test: Hold your drawing up to a mirror. Looking at it in reverse will immediately reveal any imbalances in the eyes or the shoulders that your brain has become accustomed to.
- Tracing for Structure: Take a photo of a boy and draw the geometric cylinders and boxes over the photo. This trains your eye to see the underlying structure of real humans.
Summary
Successfully drawing a boy depends on mastering basic proportions and building the figure from the inside out. By starting with a lightweight mannequin, adding cylindrical volume, and following the rule of halves for the face, you can create a character that looks balanced and realistic. Whether you are aiming for a cartoon style or a detailed portrait, these foundational steps remain the same. Remember to keep the jawline soft, the head slightly larger than an adult's in proportion to the body, and the clothing loose to capture the essence of youth.
FAQ
What is the easiest way to draw hair for a boy? The easiest way is to think of the hair as a single "helmet" shape first. Once you have the overall shape, add 3 or 4 jagged lines to represent different sections or clumps of hair. This prevents the drawing from looking too busy or messy.
How do I make the boy look like he is moving? Use the "Action Line." Before drawing anything, draw a sweeping curved line that represents the flow of the movement. Build your skeleton around this curve. If the boy is running, the action line should lean forward aggressively.
How do I draw a boy's eyes compared to a girl's? Generally, boys' eyes are drawn with fewer and shorter eyelashes. The eyebrows are often slightly thicker and positioned a bit closer to the eyes to give a more boyish or determined expression.
Why does my drawing look like an adult man? This usually happens because the neck is too thick, the shoulders are too wide, or the face is too long. To fix this, shorten the face, round the chin, and make sure the total body height is only about 6 times the head height.
-
Topic: How to Draw a Boy (with Pictures) - wikiHowhttps://www.wikihow.com/Draw-a-Boy
-
Topic: How to Draw a Boy Step by Step by Easydrawforkids - Make better art | CLIP STUDIO TIPShttps://tips.clip-studio.com/en-us/articles/8590
-
Topic: 10 easy steps to draw Boy Drawing - Easy Drawinghttps://easydrawingsteps.com/10-easy-steps-to-draw-boy-drawing/